
The Story of a Kit Car Build
The Chassis
Off with the doors, boot lid, bonnet, windscreen (which was cracked) and any other bits that would make it easier to remove the body from the chassis. All the bolts undone, the three of us heaved and lifted it away. The body was then put away in the back garden and covered up. Well, what else can you do in a back garden? Mow the lawn? No. It looked much better with a car body there instead of grass!
The chassis had been powder coated when first supplied 10 years ago, so was in need of some attention. Right, complete strip down and off to the nearest sandblaster. I was told he wasn’t the cheapest, but who wants to drag a chassis across country to save £50? Not me!
A couple of days later I started to paint the bare steel. I used a zinc phosphate etch primer, a coat of ordinary undercoat and then two coats of gloss; one red and then black. The reasoning being that was if I could see red, I would know it hadn’t had two coats.
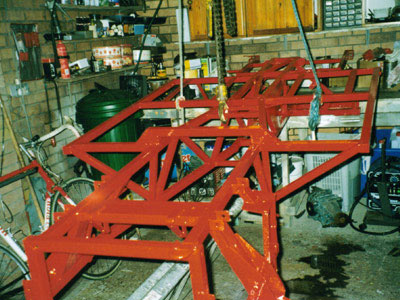
Chassis
While I had a bare chassis I thought it would be a good idea to rust proof the cavities, so set about drilling holes to inject the wax. I know this be a bit of overkill as the chassis is made of much thicker steel than production cars and probably wouldn’t need any attention for many years, but if I do it now I shouldn’t have any problems in the future. One point I would like to make is to make sure you’ve got at least two holes in any box section, as the pressure will build up inside and spray wax back out through the hole if you’ve only the one. (I know this from experience as it happened to me on one of the tubes and I got a face full of wax! Looking on the bright side, I won’t need any glasses for some time as they’re well rust proofed now!)
-
Part I – July 2005
-
-
Part II – November 2006
-
Part III – January 2009